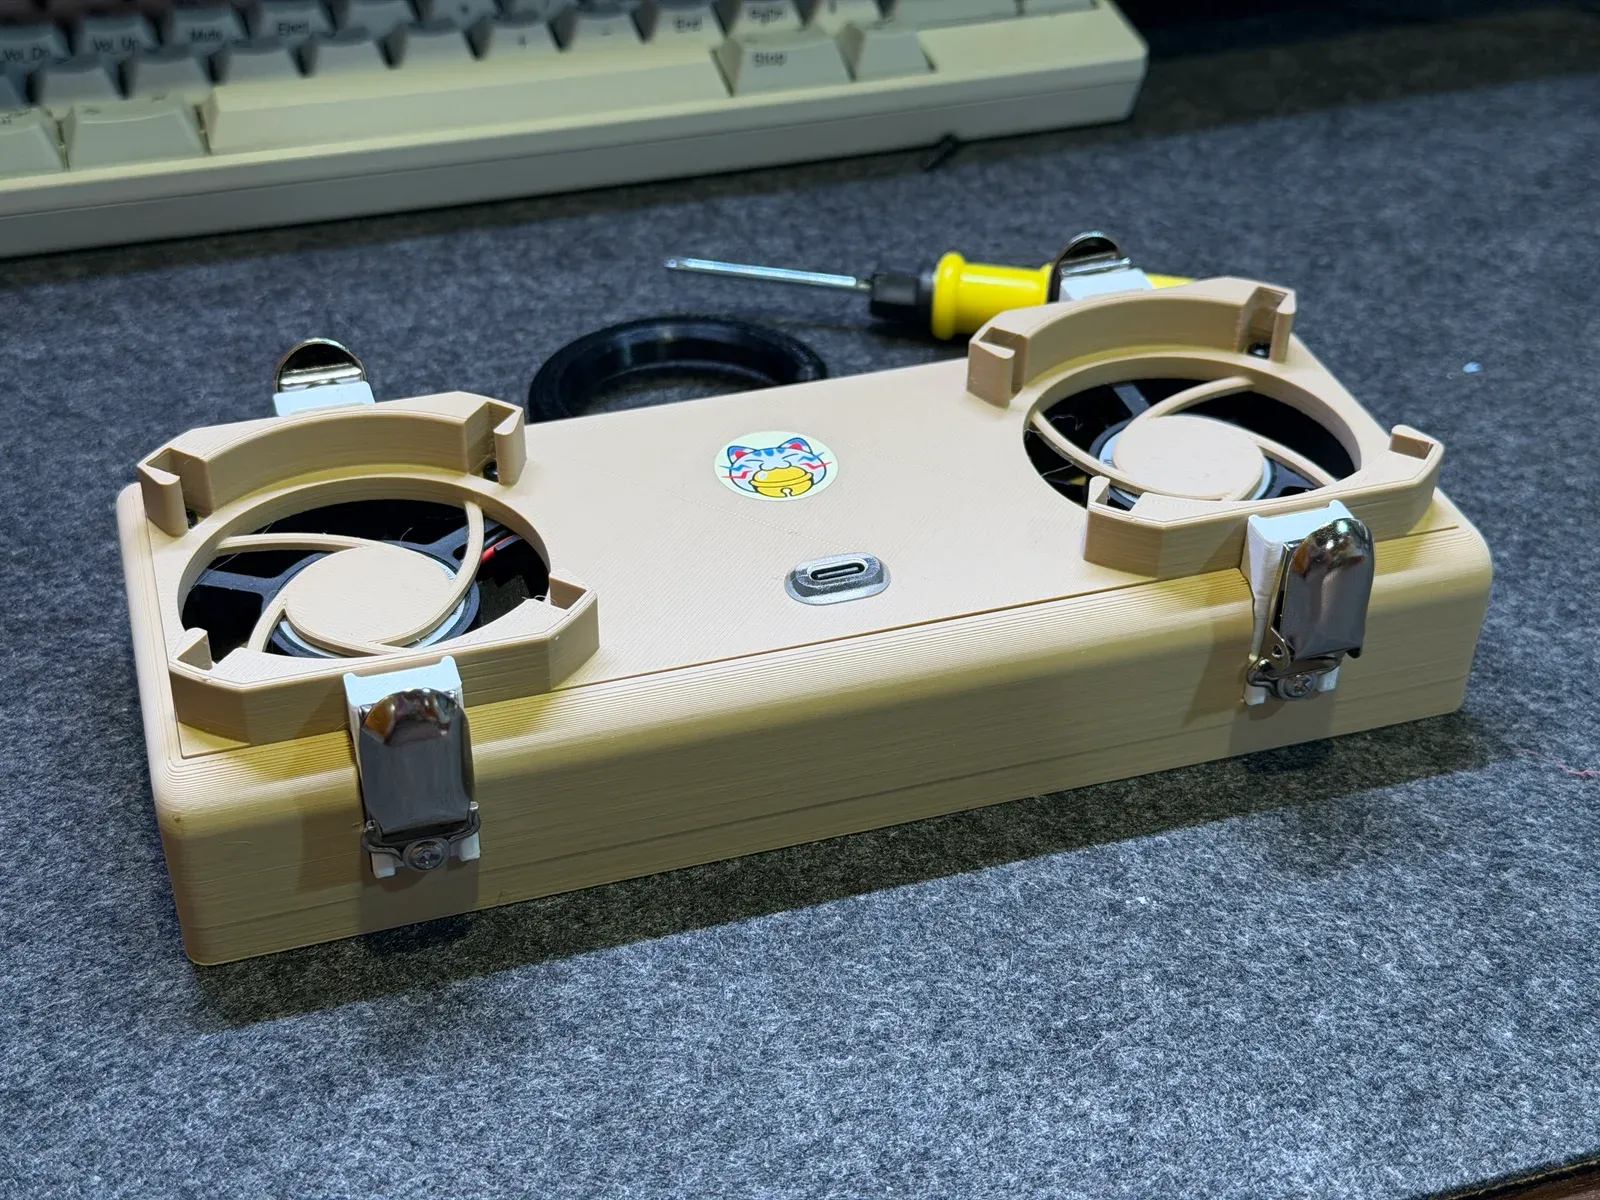
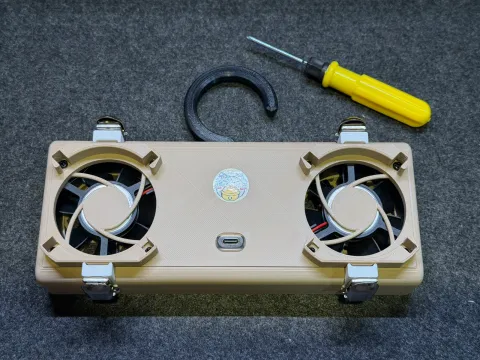
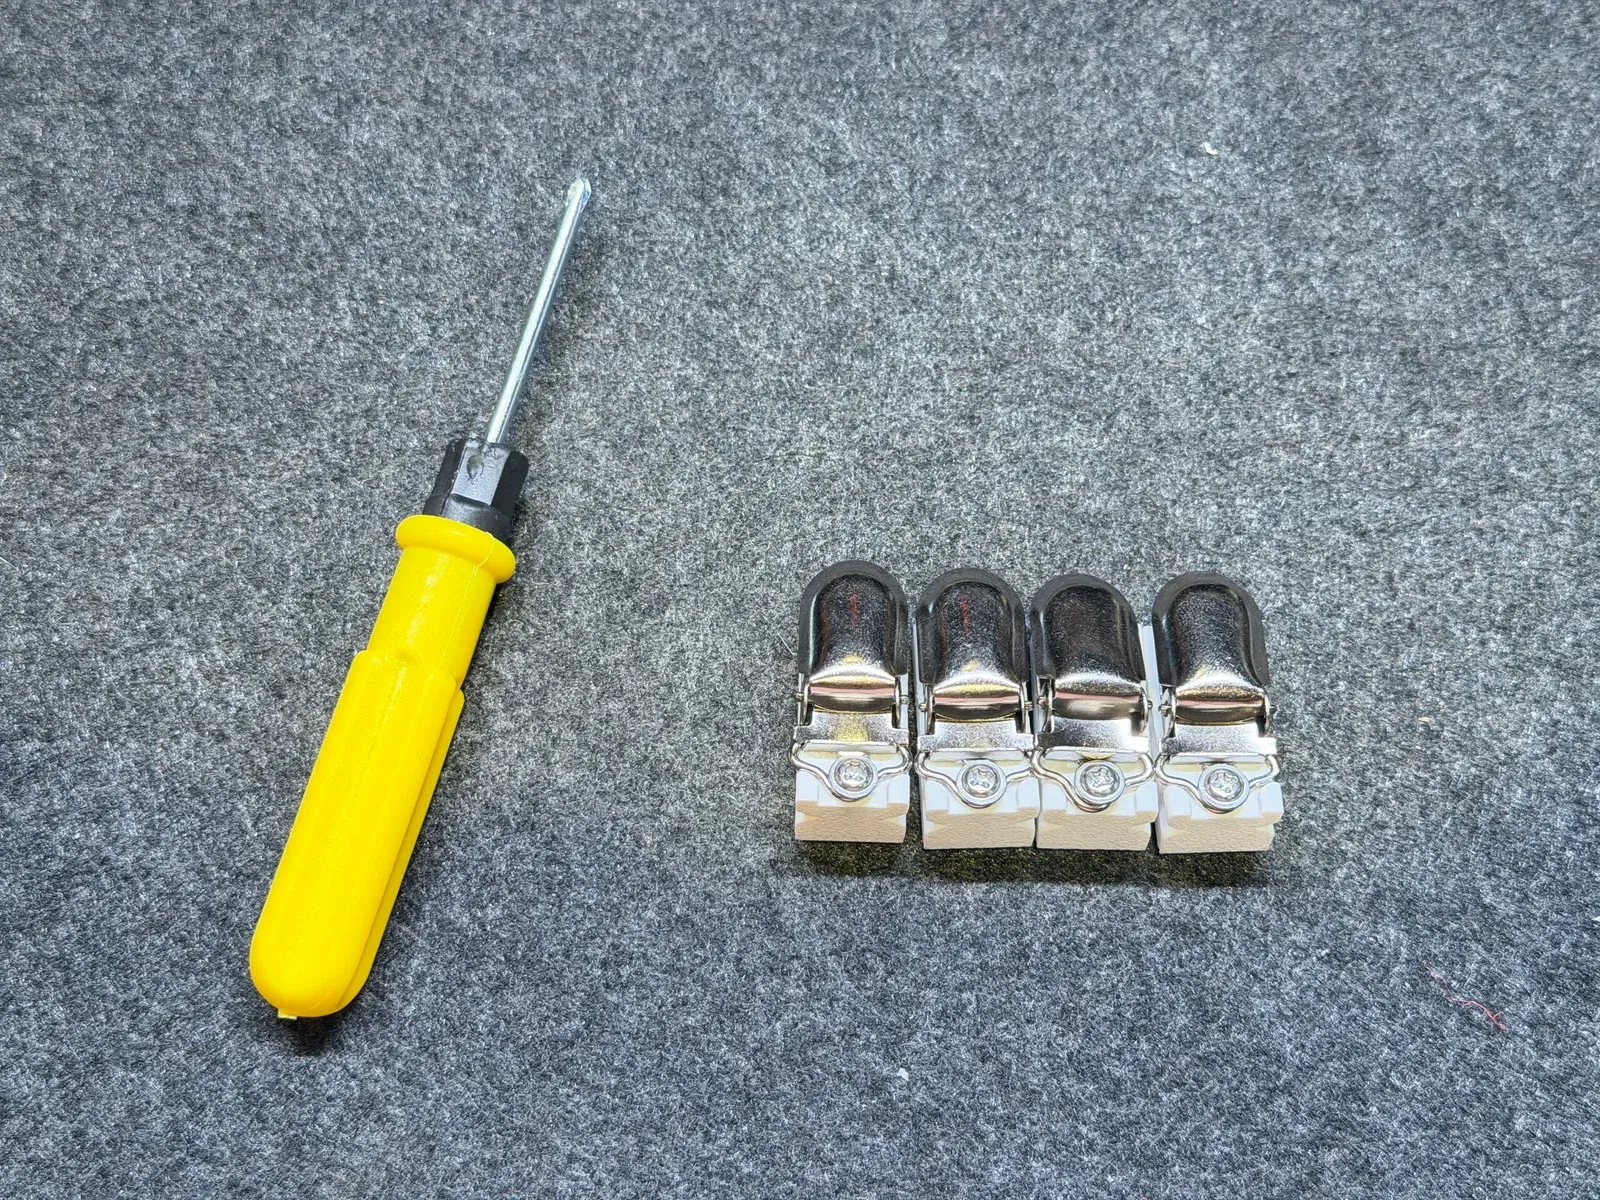
Prepare your tools and parts
You will need one Phillips screwdriver and four new metal paw clips. Place the fan on a stable table and leave enough room to open the top cover.
Unplug the fan’s power cable before you begin.
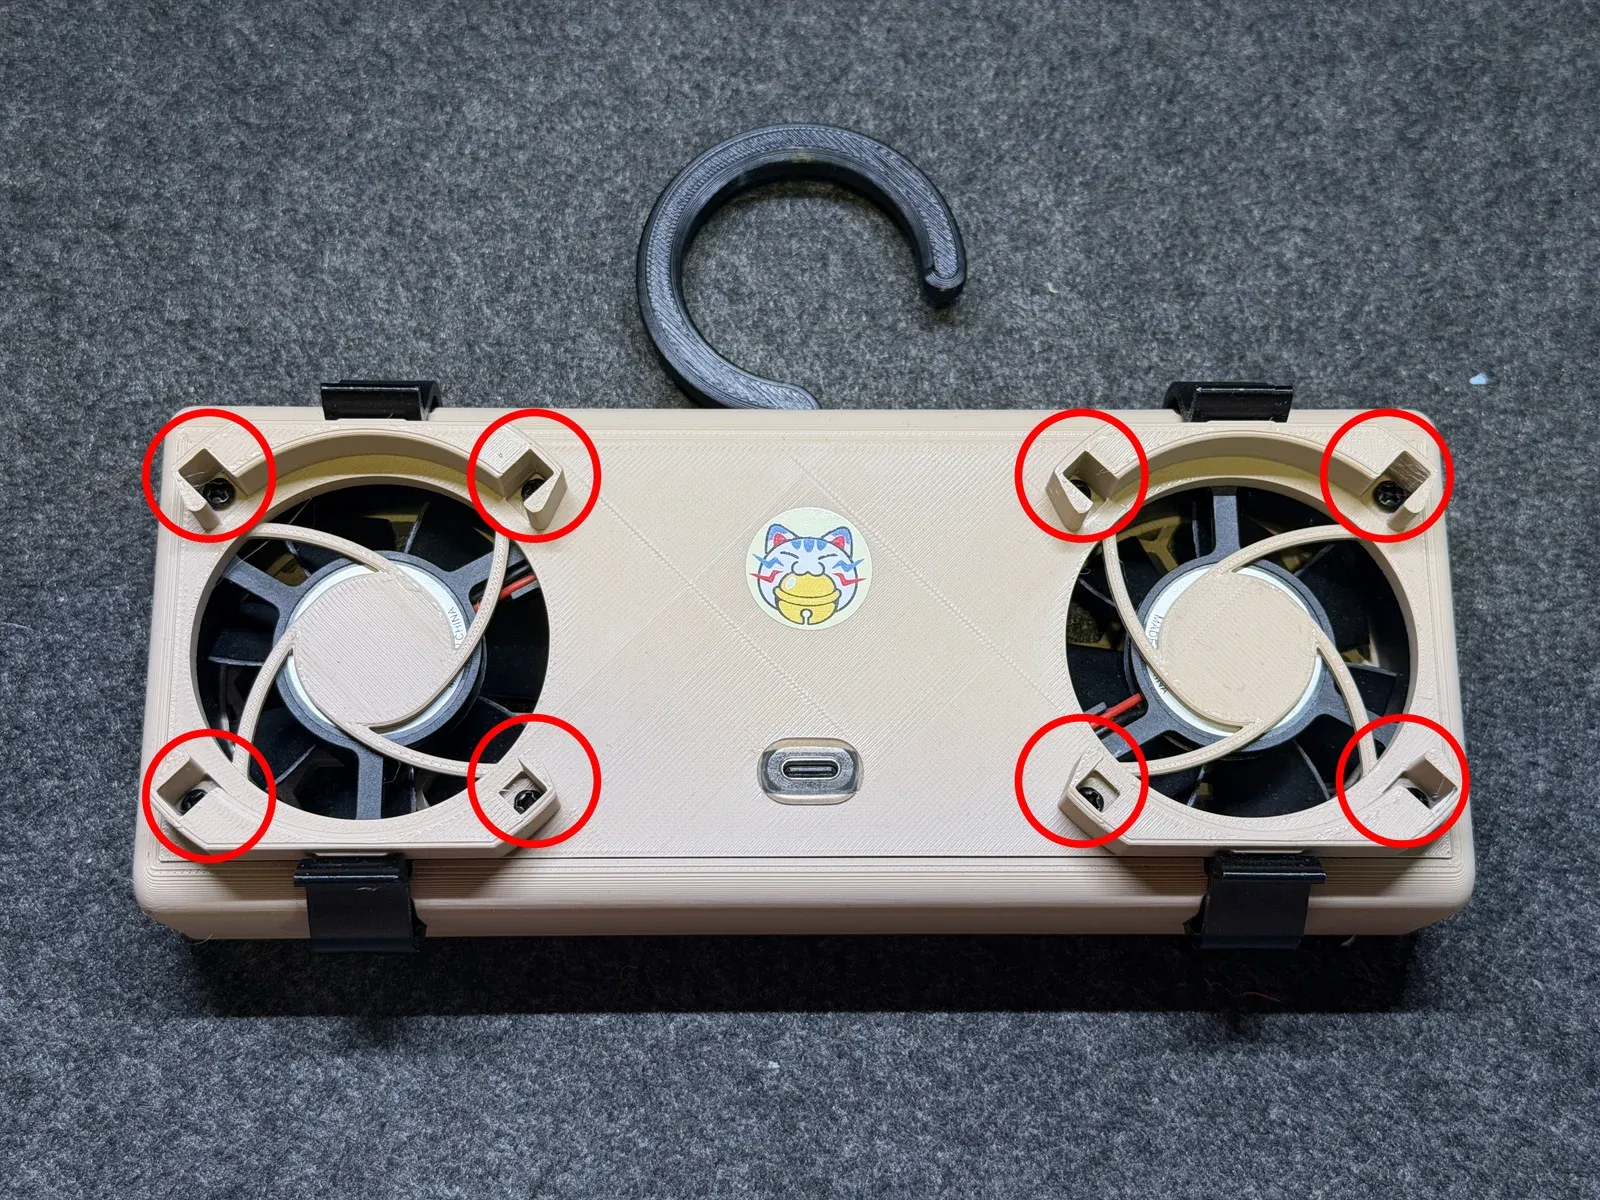
Remove the eight front screws
Place the fan face up and locate the eight screws marked with red circles in the photo. Use the Phillips screwdriver to loosen and remove them one at a time.
Keep the screws together. You will need them when reassembling the fan.
Carefully open the top cover
With the screws removed, support the top cover with your hand and slowly open it. Wires still connect the cover to the inside of the fan. Do not pull the cover away or tug on it.
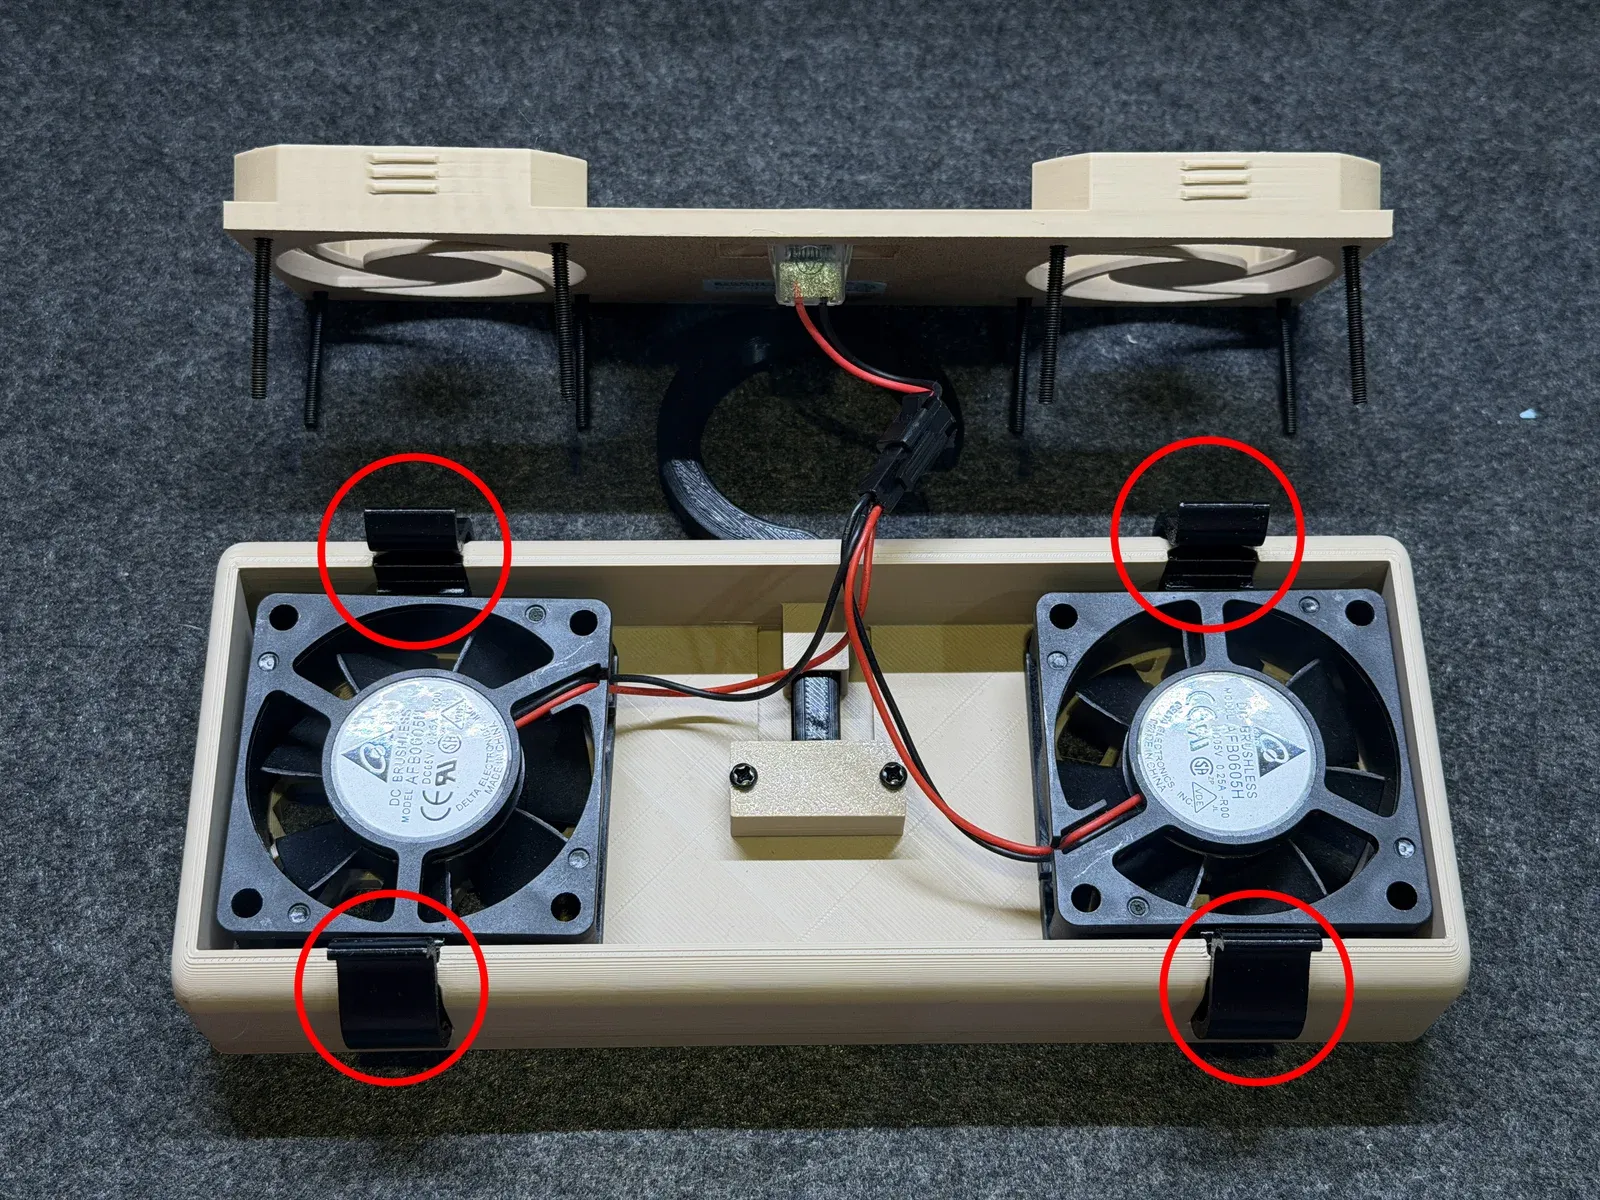
You can now see the four plastic clips around the housing, marked with red circles in the photo. Keep the cover steady while replacing the clips to avoid pulling on the wires.
Remove the plastic clips
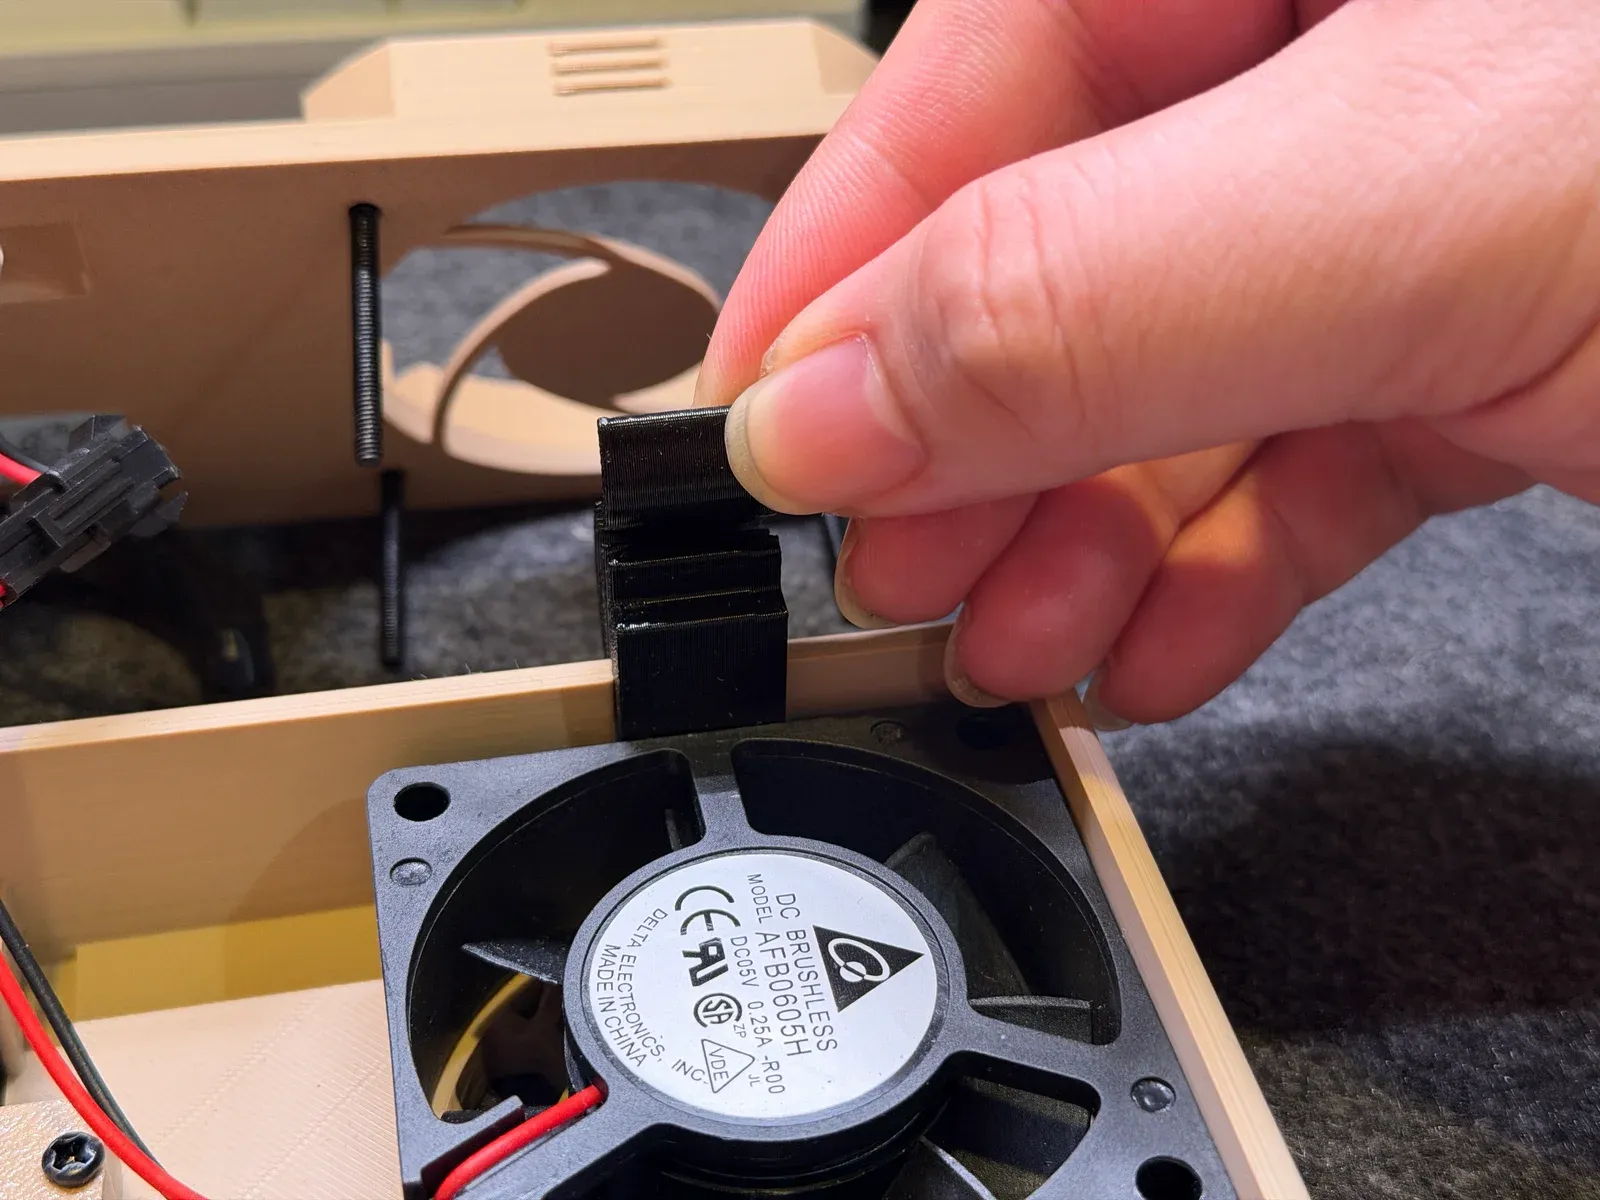
Hold one plastic clip and slide it upward along its slot, as shown below.
Remove the other three plastic clips in the same way, one at a time.
Fit the metal paw clips
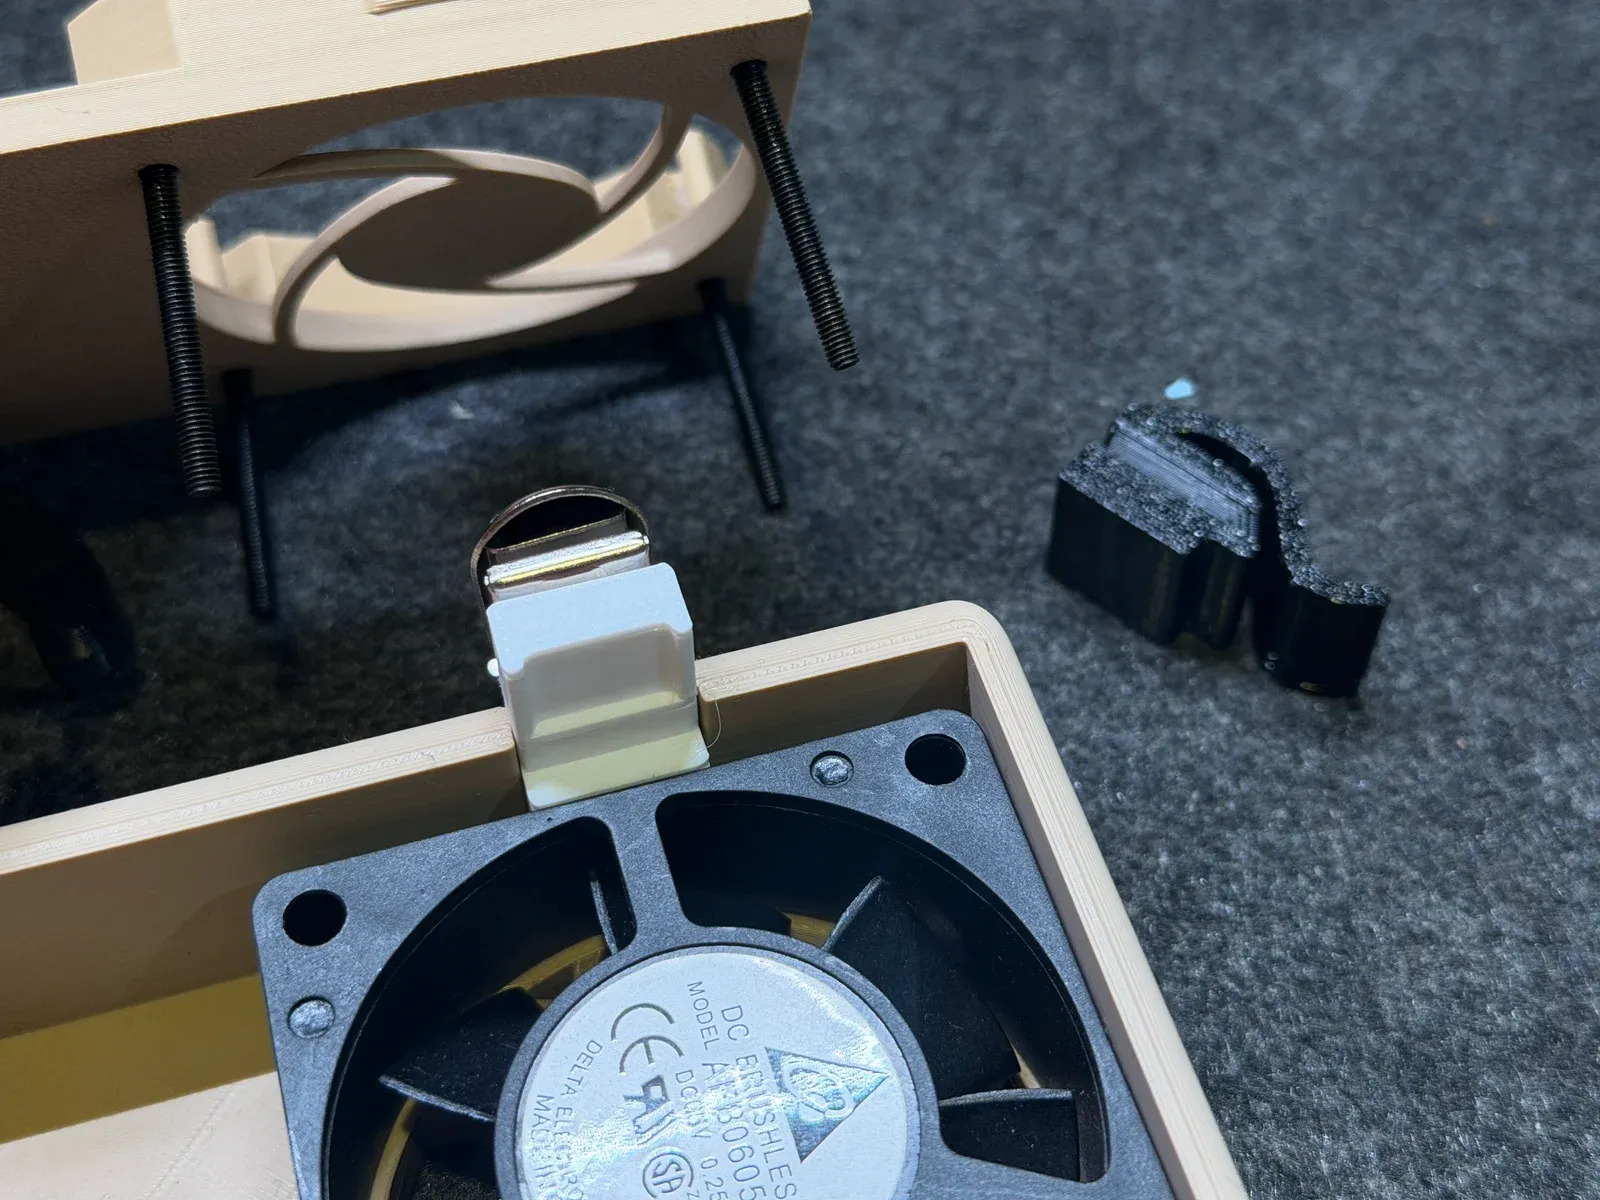
Orient the metal paw clip as shown in the photo. Line up its base with the empty slot, then slide it downward into place.
Check that the base is seated in the original position, then fit the other three metal paw clips in the same way.
Close and secure the cover
Once all four metal paw clips are fitted, check that no wires are caught in the housing seam. Align the top cover with the housing and screw holes, then gently close it.
Use the Phillips screwdriver to reinstall the original eight screws one at a time and secure the cover. Check that the cover is properly closed. Your metal paw clip upgrade is complete.